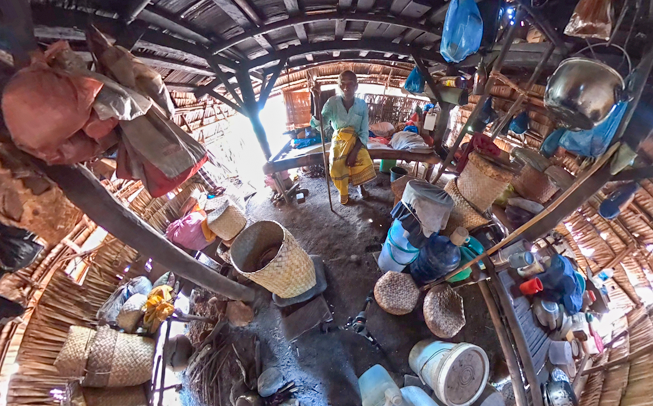
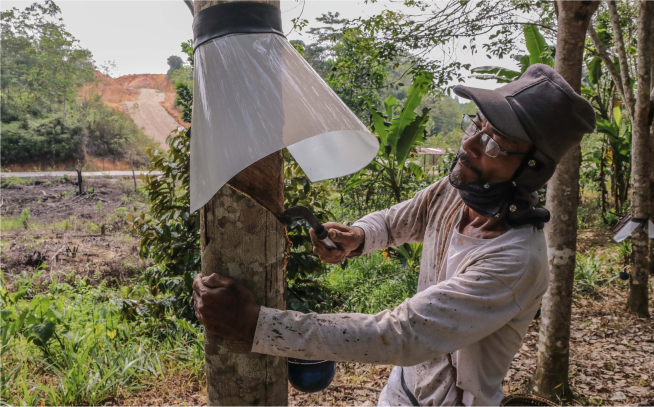
Kopernik: An R&D Lab for Social and Environmental Challenges
This short video introduces Kopernik's lean experimentation approach to finding innovative solutions to social and environmental challenges.
This short video introduces Kopernik's lean experimentation approach to finding innovative solutions to social and environmental challenges.


The David & Lucile Packard Foundation is a family foundation that supports organizations working on conservation, health, early childhood learning, and community development.
Learn More
The Ministry of Foreign Affairs of Japan (MOFA) is responsible for implementing Japan’s foreign policy, fostering international relations, and promoting peace and stability worldwide.
Learn More
The University of Melbourne is a globally recognized institution known for its excellence in education, research, and fostering collaborative solutions to address complex global challenges. It brings together diverse expertise to drive positive social and environmental change.
Learn More
Women's Earth Alliance (WEA) is an international organization dedicated to empowering women leaders at the forefront of environmental sustainability and social change. By providing resources, training, and networks,
Learn More
Citi Foundation works to promote economic progress and improve the lives of people in low-income communities worldwide. By supporting initiatives that expand financial inclusion, enhance livelihoods, and strengthen communities, Citi Foundation helps create opportunities for sustainable growth.
Learn More
World Bank funded an open finance off-line pilot project in Indonesia and provided support to Kopernik through the Indonesia Demand Driven Green Innovation Sub-Program.
Learn More
Design Lead - IDEO.org
Kopernik went above and beyond the initial ask for this project. They were responsive, willingly and quickly shifting to meet evolving project needs, and provided invaluable subject matter expertise.
Risk Reduction Specialist - UNICEF Indonesia
Kopernik are dynamic, collaborative and focused in their approach of evidence-based product design, testing and innovation. When Kopernik commits, they deliver results.
Strategy Manager Purpose
Our collaboration with Kopernik was one of the most productive partnerships. The team had a deep expertise in environmental issues as well as credibility in the region.
Prefer Social?
Prefer Social?
Already have an account? Sign In
Before you go!
Prefer Social?
By proceeding you agree to Kopernik's Privacy Policy
このブラウザは現在サポートされていません
コペルニクのウェブサイトには、以下のブラウザでの閲覧を推奨いたします。
Microsoft Edge、Google Chrome、Firefox、Safari